Communities
My Communities
Communities are an excellent way to encourage online collaboration, discussions, and the exploration of new ideas. Any content shared into a community will be visible by all members of the community
Communities
- Once in a community, all members of the community can contribute to the community. It does not have the same ‘one direction sharing’ of a share group.
- Tends to be for larger groups but can still operate well with smaller numbers.
- You can search for a particular community (even if it is a private community)
- If the community is public, you can join immediately. If it is private, you have to request to join. The owner of the community will then decide whether you are able to join.
Joining a community
To join a community, click on ‘Communities’ from the drop down menu on the ePortfolio homepage. If you have been invited to any communities, you will see these listed. To find a community, use the Create/Find Community button, and use the search box on the page that follows.
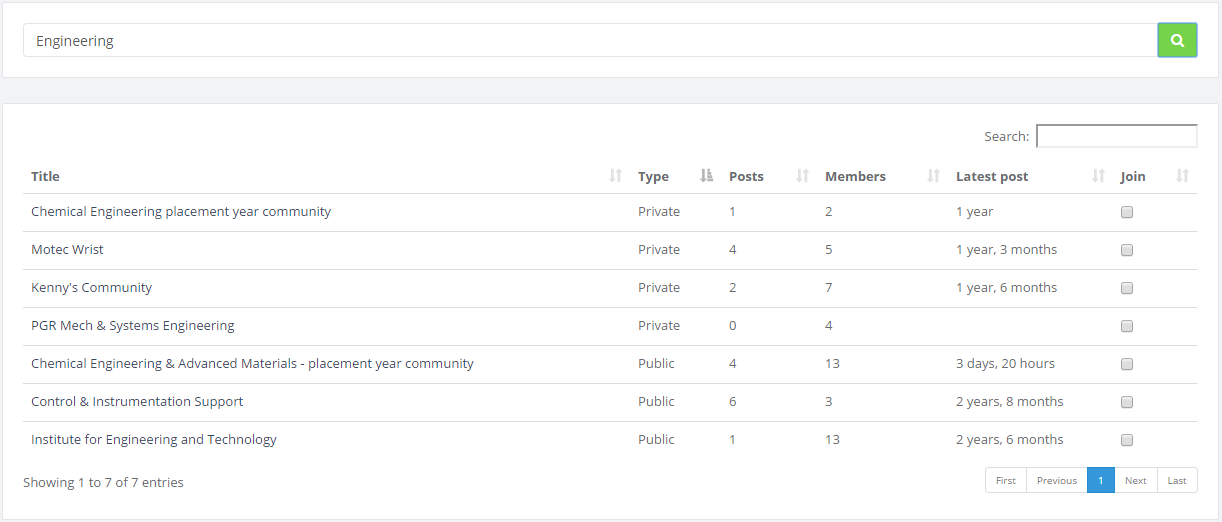
Once you see the relevant community, click in the box underneath the ‘join’ column.
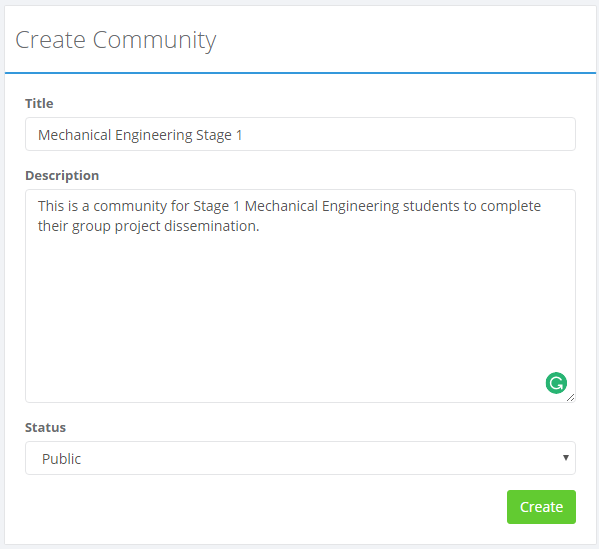
Creating a community
To create your own community, navigate to the community page by selecting Communities from the drop-down menu at the top of ePortfolio. At the top right of the page is the option to Create/Find Community. On the right-hand side of the next page, you will see the Create Community form. Give the community a title and a description. Choose whether it is to be a public or private community. The only difference between the two is that a private community requires the community administrator to authorise any requests to join, whereas the public community allows you to join immediately.
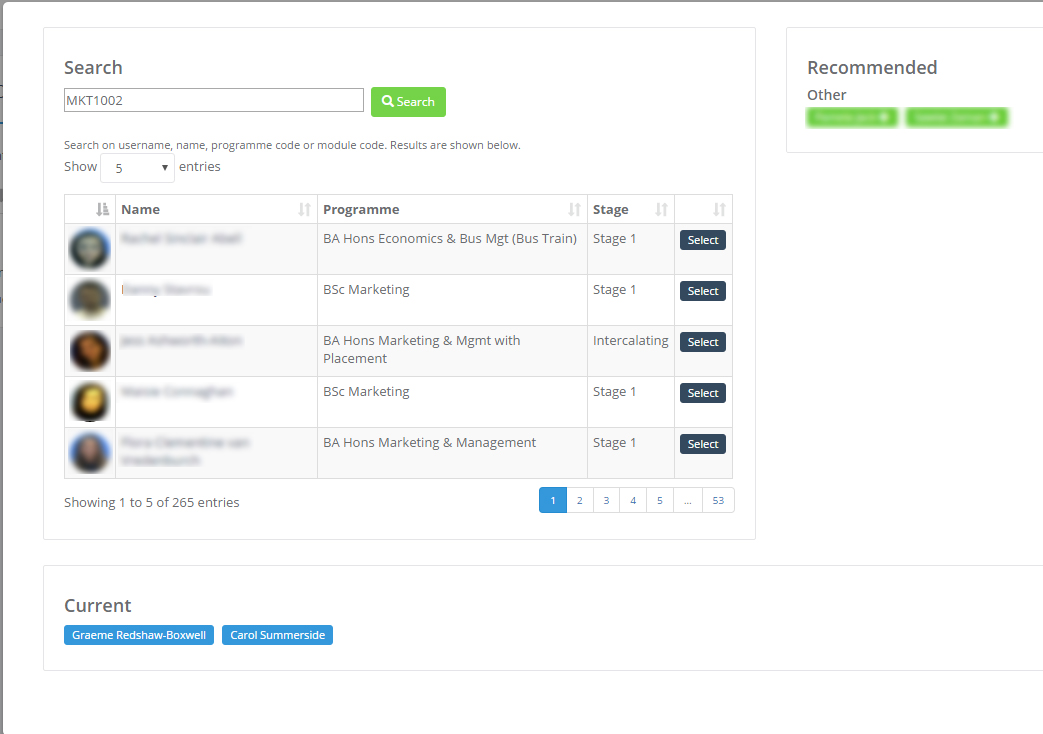
Adding people to a community
To invite members to your community, on the Communities page you will see options for “Members” and “Edit” on any community you are the ‘owner’ of. Click on members, then choose the “Find a User” option to search for users to invite.
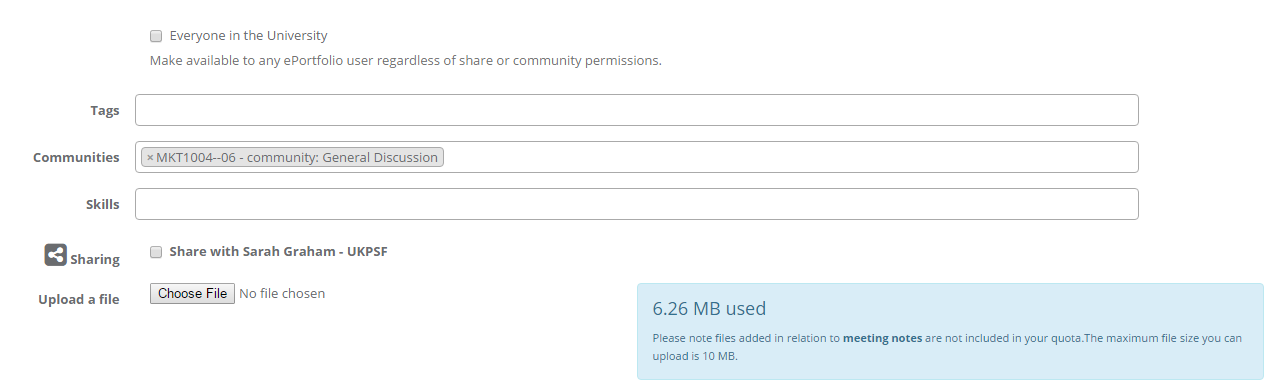
Contributing to a community
There are three ways to ensure that your blog posts are added to a particular community.
- Add the community in the sharing area of the blog form. Click into the relevant box in the form and it will bring up the communities of which you are a member.
- On the “My Communities” page, each community you are a member of will have an “Add Post” button.
- Alternatively, you can go into the community and use the “add a blog post” option.
Screencasts
Screencasts
This screencast will demonstrate how to create a community, and how to invite members to the community.